IT
[다빈치 리졸브 기초] 영상 자르기, 이어붙이기
이깅
2023. 3. 15. 20:03
반응형

먼저 다빈치 리졸브를 실행합니다.
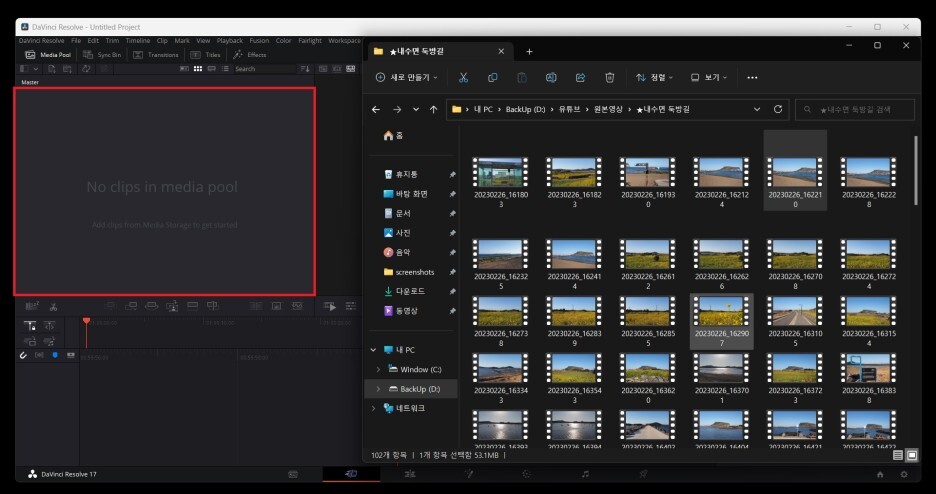
영상이 들어있는 폴더를 열고, 원하는 파일을 빨간색 상자 부분에 드래그해서 옮겨줍니다.
두개의 영상을 드래그해서 옮겼습니다.
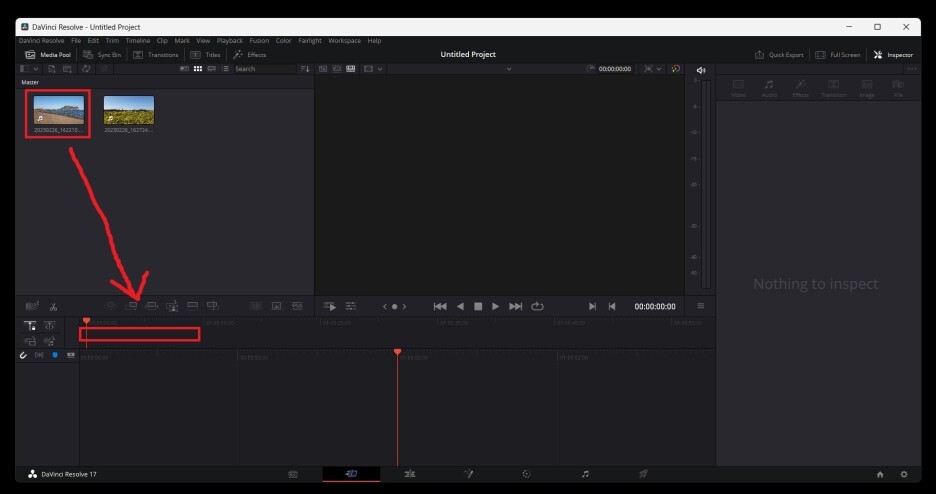
이제 첫번째 영상을 타임라인쪽에 드래그해서 옮겨줍니다.
타임라인에 영상이 추가되었습니다.
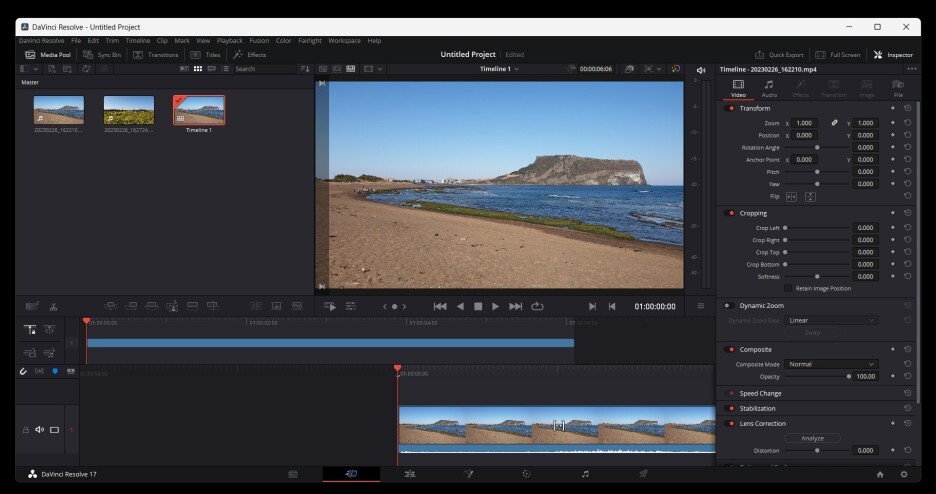
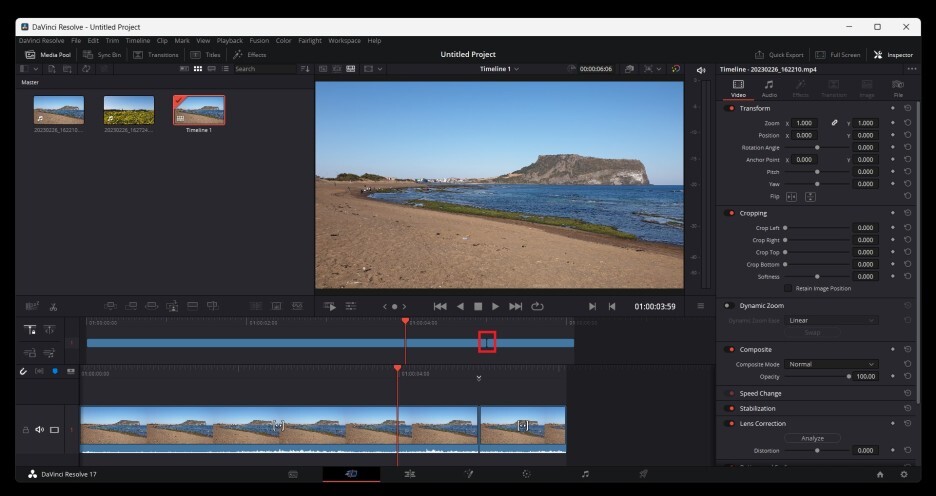
타임라인 부분을 클릭해서 오른쪽 끝으로 옮겨보니 영상 길이가 6초 정도 되는데요.
이거를 5초로 잘라보겠습니다.

① 5초에 해당하는 부분을 클릭한 뒤에.
② 가위 모양을 클릭합니다.
(참고로 키보드 좌, 우 화살표를 통해서도 타임라인을 조정할 수 있습니다.)
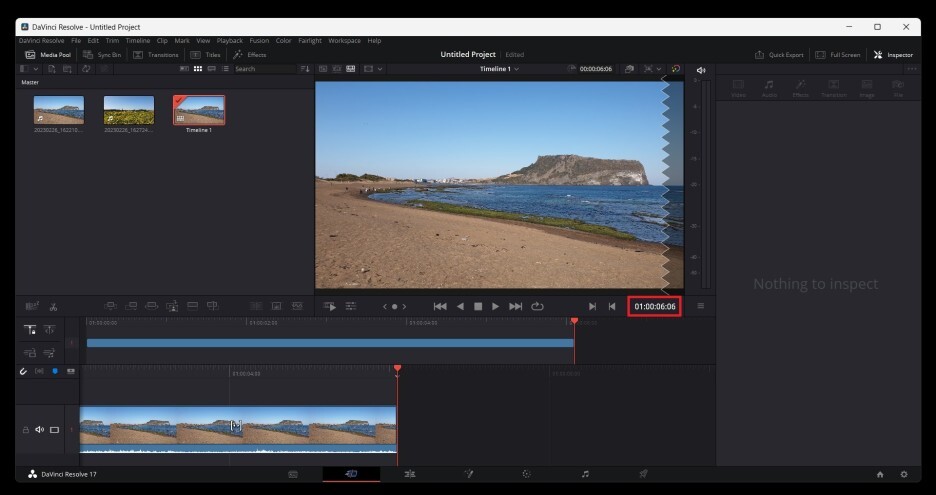
자세히보면 영상이 잘라진 것을 확인할 수 있습니다.
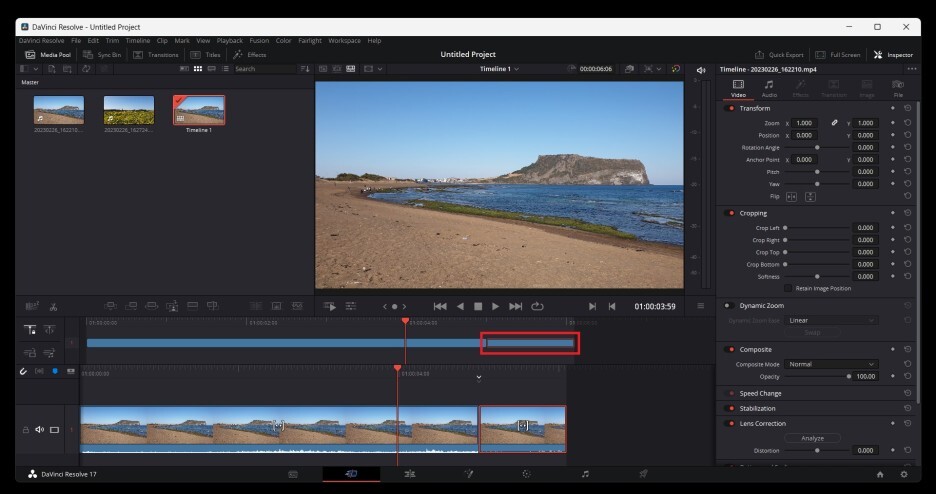
뒷부분을 필요 없으니, 뒷부분을 클릭한 뒤에 Delete키를 눌러서 없애면 됩니다.
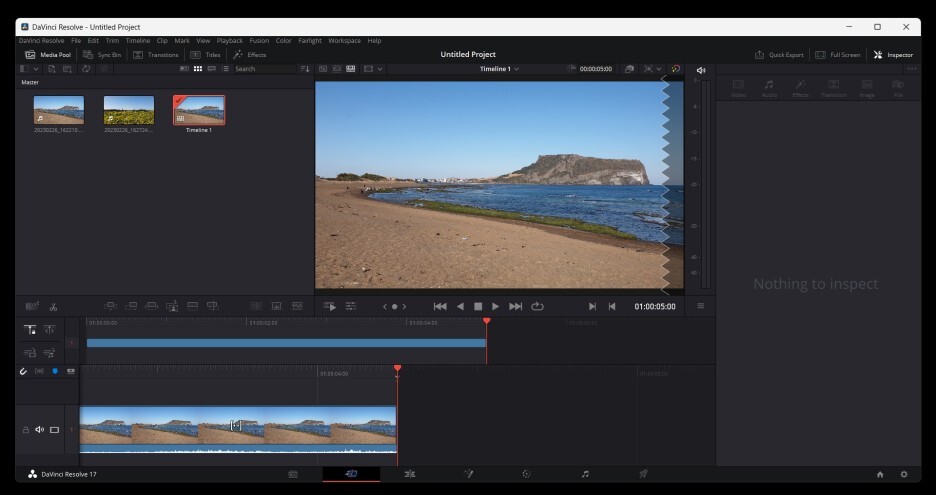
이렇게 5초짜리 첫번째 영상을 만들었습니다.
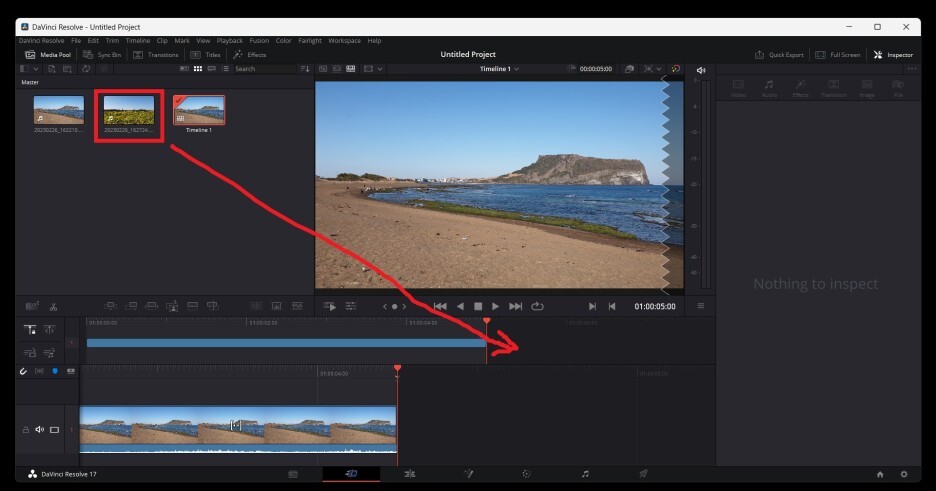
이제 뒷부분에 두번째 영상을 붙여보겠습니다.
마찬가지로 타임라인에 드래그 한 뒤에, 같은 과정으로 영상을 잘라주면 됩니다.

최종적으로 10초짜리 영상이 만들어졌습니다.
반응형